
IPhone Photo Hacks | PHOTOGRAPHY

I love my DSLR camera. It is my baby and we have created some incredible photos together. For someone who started for a long long time using a crop sensor camera, upgrading to a full frame camera was a game changer. However, with this said, when I travel I like to strip it back a bit. Before I came to Europe, I upgraded my phone to an Iphone 7 Plus, as I wanted a phone that had a camera I could really enjoy and get a lot of use out of. And the results are in I LOVE WITH PHONE. So here's some tips and tricks to get the most out your smartphone camera while you're travelling!
1. LIGHTING
Lighting is one, if not the most important thing to consider when taking a photo of someone. The best way to think about lighting/the sun is to think about it like a torch. If you shine a torch straight into someones face then their face will be very lit therefore if you're facing towards the sun you'll be well lit. If you shine a torch to the side or from above someones face there will be very harsh shadows. And if you shine a torch behind someone, then the person will become a silhouette which means they'll be a black outline since there is no light to light up their face. So before you take a photo think about where the sun is as it'll makes a huge difference to your photo! |
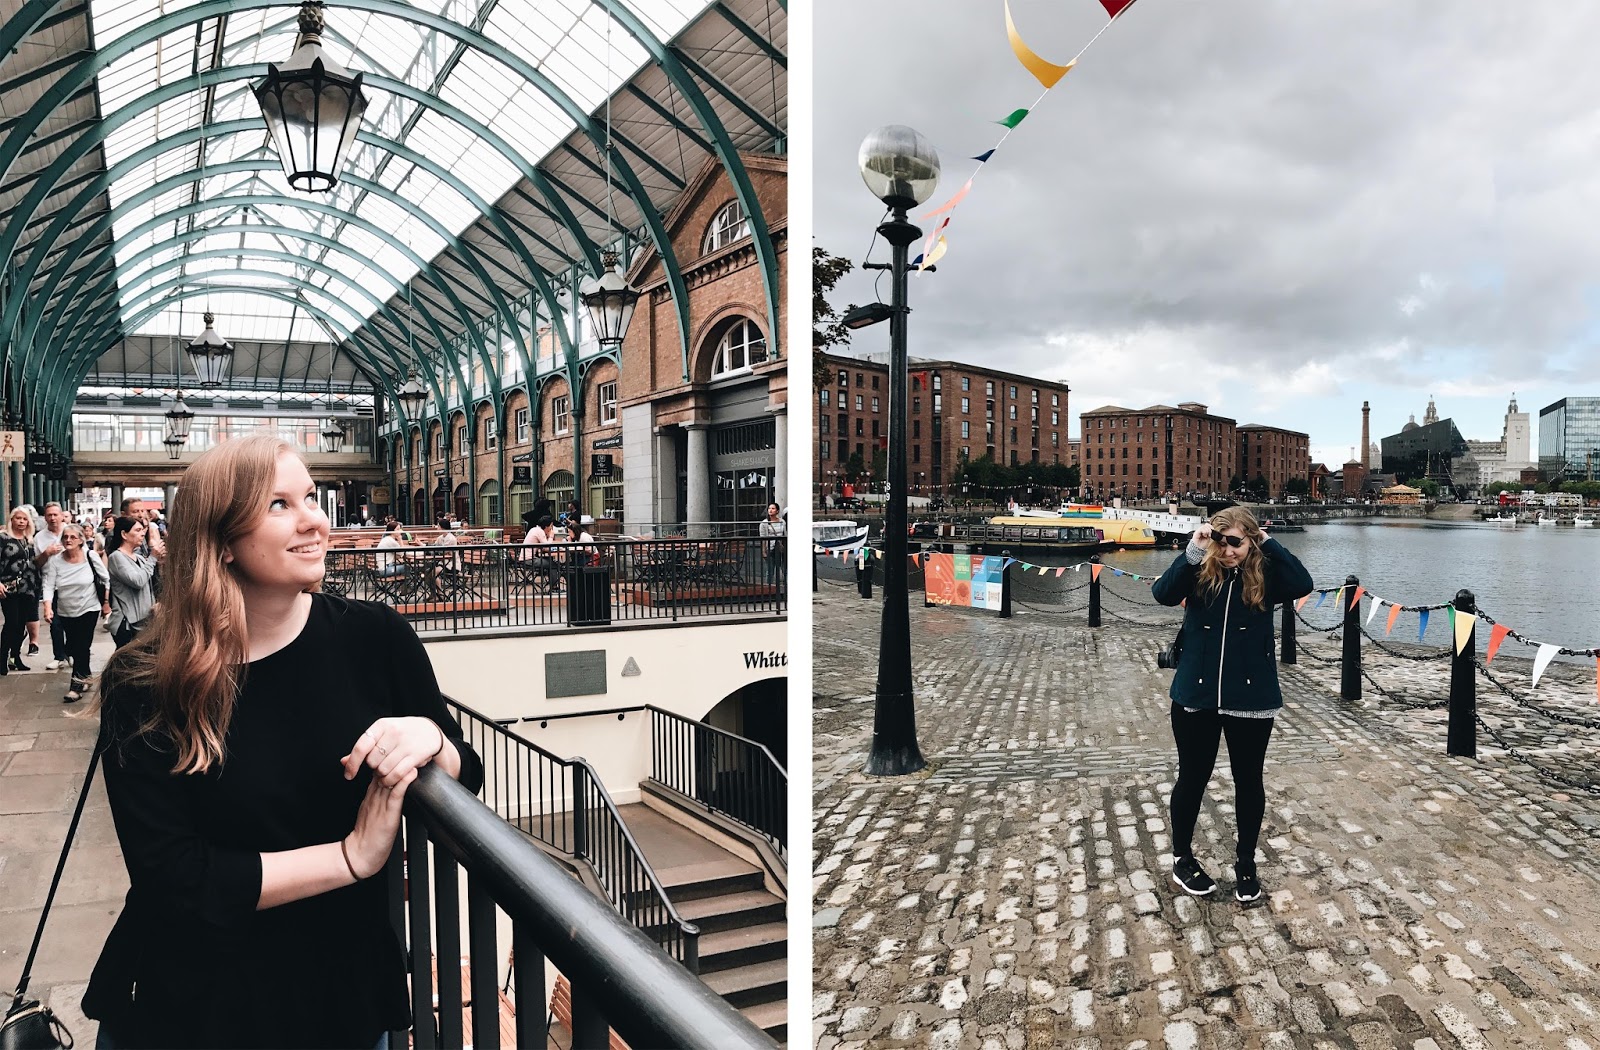
| Example of fixing harsh shadows/lighting by adding sunglasses! |
My go to trick if you have to shoot in harsh sunlight is just to get the person to wear some sunglasses. Problem solved! Lighting is completely up to you, however I prefer lighting that lacks shadows and is gentle on the skin. Usually this kind of lighting can be found in shaded places or when it is overcast (my favourite weather for photos!)
 |
| Photo in overcast weather vs Photo in the shade |
2. COMPOSITION
Composition is tricky to explain but once you understand it, it makes so much sense. Composition is the way you frame and arrange the subject matter in your photos. The main universal concept of composition revolves around an idea called 'The Rule of Thirds' which means that whenever you take a photo you align the subject matter to where the interception points are (where the lines cross over each other) on the grid (as seen below). This helps to create a balanced photo. Once you have learnt the basics of composition, you can then learn to break them. Stick to the basics first though! I'm really bad at explaining things- feel free to watch this youtube video if i'm making no sense!
 |
| Photo from https://www.photovideoedu.com/Learn/Articles/jim-zuckerman-on-composition-the-rule-of-thirds.aspx |
Also other basic things such as if you're taking a full body photo of someone, don't cut off their feet and/or their head. Please I beg you don't do it. These simple things make such a huge difference in the framing of photos!
 |
| Example of making sure you don't cut off feet! Keeping all the limbs in the photo makes it looks well framed |
3. SUBJECT MATTER
Think about what you're taking photos of and why you're taking a photo of it. No one can tell you what to photograph, that is you're own creative choice. For me, I am mostly drawn to anything colourful. And flowers! There's not much I can tell you about choosing subject matter since it's a personal choice.
 |
| Colour! |
 |
| More Colour! |
4. POSING
 |
| Queen of being 'plandid' #1 |
 | |
|
5. EDITING
You can read about how I edit my photos in VSCO here!
You can read about how i whiten the f out of my photos in Facetune here!
 |
| Before & After Whitening in Facetune! |
 |
| Before & After Editing in VSCO |
Until next time,
Chels x
P.S All photos were taken on an Iphone 7 Plus
-------------------------------------------------------------------
Instagram- @littlek
Twitter- @littleksnap
Portfolio- www.littleksnap.com
Facebook- facebook.com/littleksnap
Email- littleksnap@gmail.com
-------------------------------------------------------------------
ALL OPINIONS AND IMAGES REMAIN MY OWN UNLESS STATED OTHERWISE
-------------------------------------------------------------------


0 comments